The Concrete Border Process . . . We Make It Easy for You!
Most Jobs Are Completed In One Day or Less.
Here are the steps:
- Your Border X’pressions experience begins with one of our certified design consultants scheduling an appointment at your home to discuss our product attributes, answer any questions you may have, and provide a free estimate.
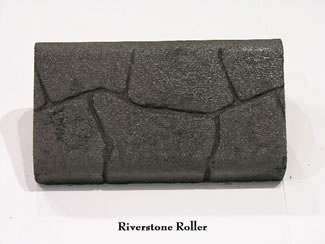
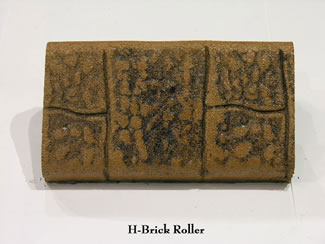
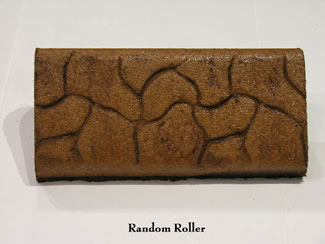
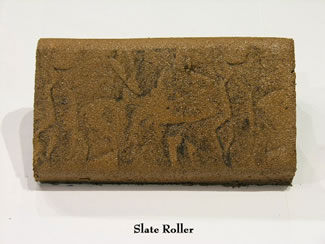
- Our design consultant will show you a portfolio including color, stamp, and roller and mold choices. We will present ideas and then work with you to decide the optimal layout for your new concrete border. Your border will be completely customized and perfectly designed to fit your landscape.
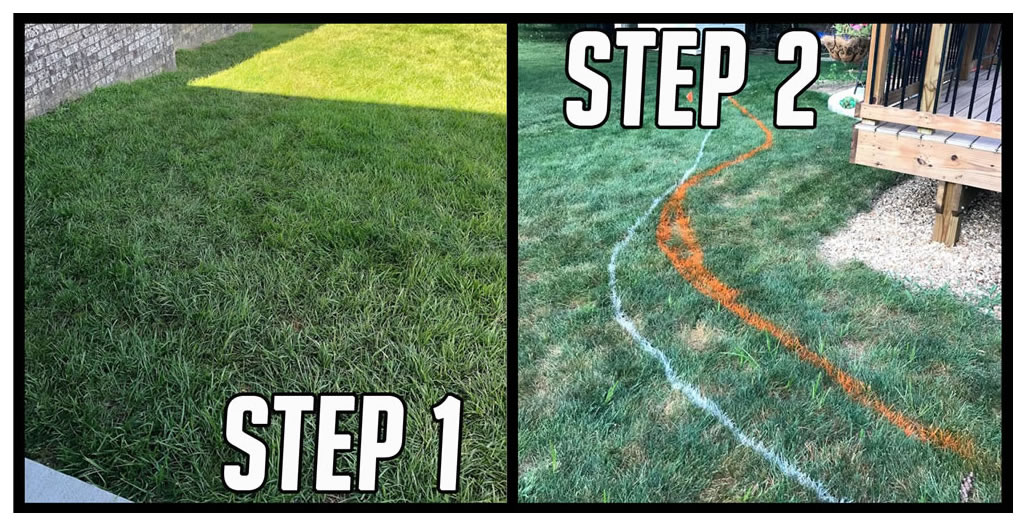
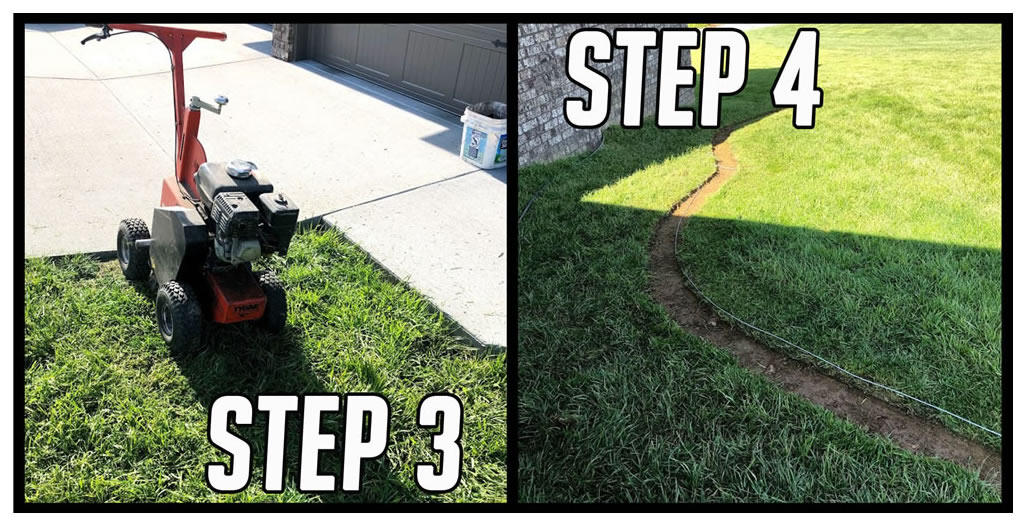
- On the date of your job, our professional team will arrive at your home and mark off the area where the border is to be laid. They will perform a 8″ sod cut with a professional sod-cutting machine to prep the ground for your new concrete border.
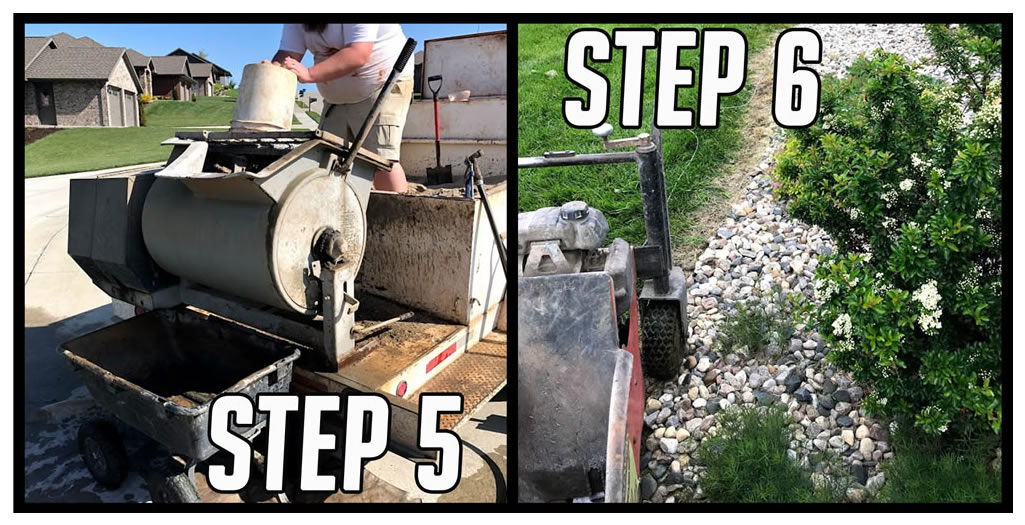
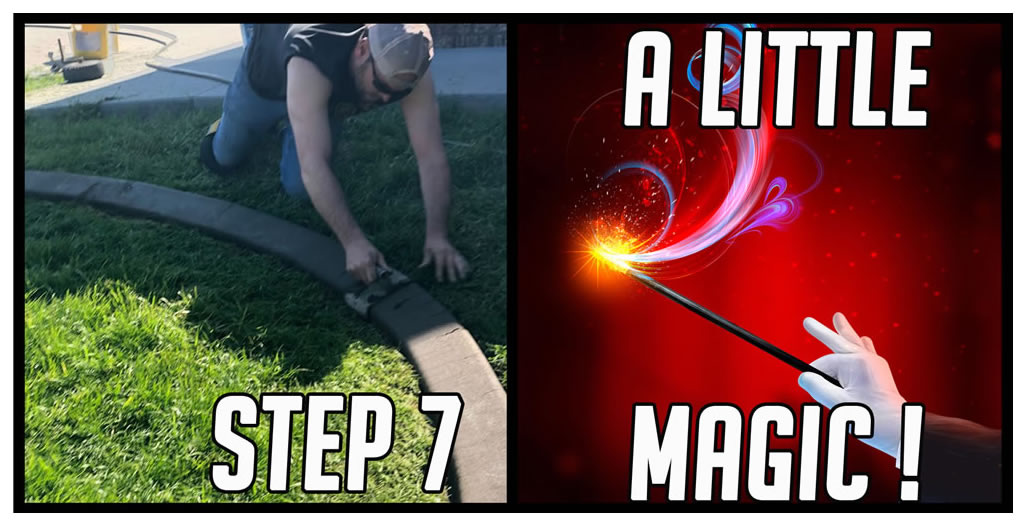
- The crew will then begin the mixing of your product. The mix contains durable portland cement, sand, fiberglass reinforcement, and the color that you previously specified for your border. The method of adding the color directly to the mixture provides you with a consistent and lasting color throughout the life of your border. This color and concrete mixture resists fading, chipping, and weathering. With a state-of-the-art border machine, the border will be laid in the design that you decided upon. Settling joints are installed every two to three feet to allow for the ground to freeze and thaw.
- After the concrete is laid, we will apply two coats of special sealant to your border. By sealing the border, it not only adds to the strength and durability, it completes the process of the natural look that you want to achieve. Sealers are available in either a matte or high-gloss finish.
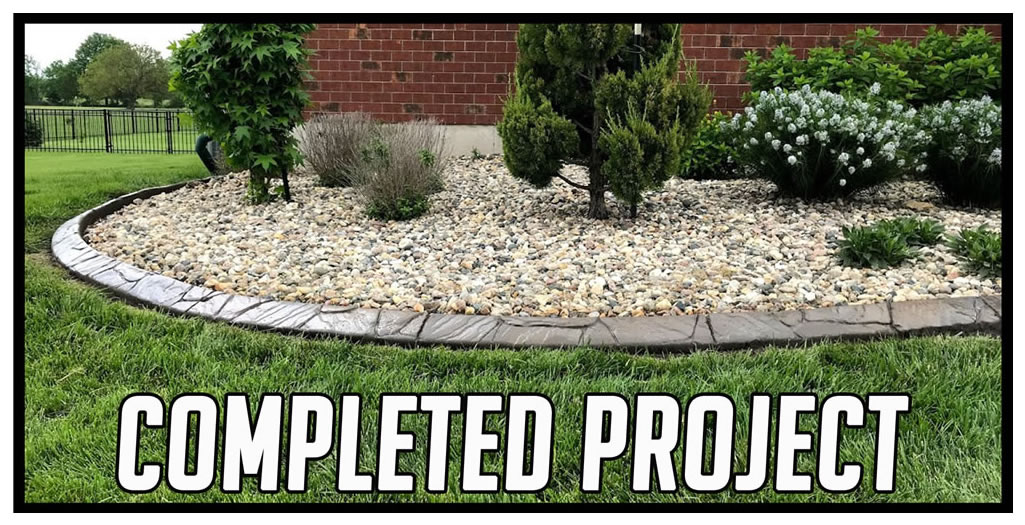
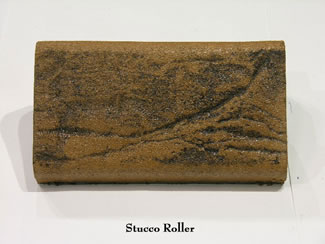
- The images below represent just a few of the available styles and colors.